Microsoft Dynamics AX 2012 ALM with Team Foundation Server (ALM-III)
In the previous post in this series, we looked in detail at how to install and perform the basic configuration of a Team Foundation Server 2010 server, and we also assumed the installation of Visual Studio 2008 or 2010 configured with the required updates to connect to this server. Our server was installed and configured with one or more project collections, but no project had been created yet.
In this post we are going to see how a Team Foundation Server 2010 server can help us manage the application lifecycle at a functional level, without getting into technical details, and how this functionality will help us from the earliest project stages when gathering requirements, to the final stages with incident management and change management.
The first thing we need to manage our project is, as expected, a project. Creating a project cannot be done from TFS2010 web access, so we will need to connect to the server using Visual Studio. In this chapter we will work with Visual Studio 2010, which we will almost certainly have installed on our Microsoft Dynamics AX 2012 development machine.
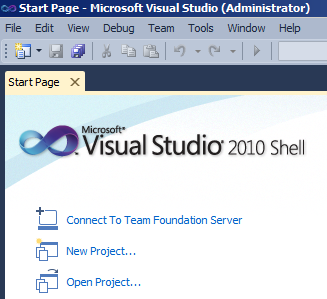
On the Visual Studio 2010 start page, we choose the Connect To Team Foundation Server option:
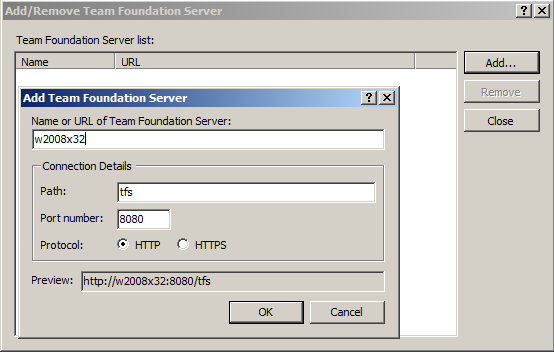
If we have never connected to our server (or any server), it will not appear in the server list. To add it, click Add and type the server name we used in the previous chapter. The wizard will complete the URL:
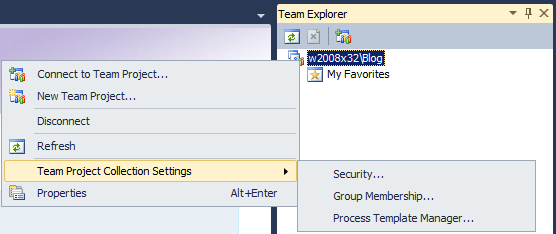
After accepting, we can choose our server and connect to the collection we created earlier. Once connected, in Visual Studio 2010 we can show Team Explorer, if it is not already visible, and right-click our collection, which will now be empty. This allows us to see the options available for managing that collection.
For now, we will not go into detail on these options and will simply create a project using New Team Project.
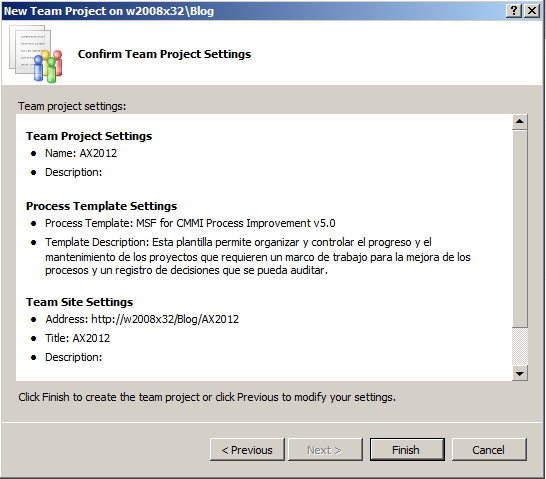
- The wizard asks for a project name (I will use AX2012).
- It also asks for a template, choosing between Agile or CMMI. This decision depends on the methodology we are using: if we use any agile methodology, we select the first one; for waterfall methodologies (such as Sure Step), we select the second one. For this example, I will select CMMI.
- When creating a Sharepoint site, we will answer yes and keep default options.
- We will also keep default options when creating an empty source code folder.
The installation summary will be similar to the following:
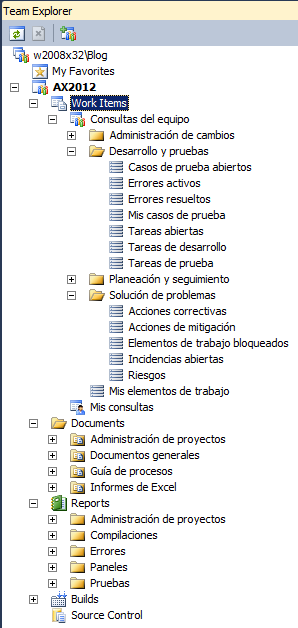
When the process finishes, we can see how the new project and its options appear in Team Explorer, and the wizard guides us to the template page we selected. If we expand all nodes of the newly created project, we can confirm there are many options, most of them prepared queries that show task lists in different states:
Create work items
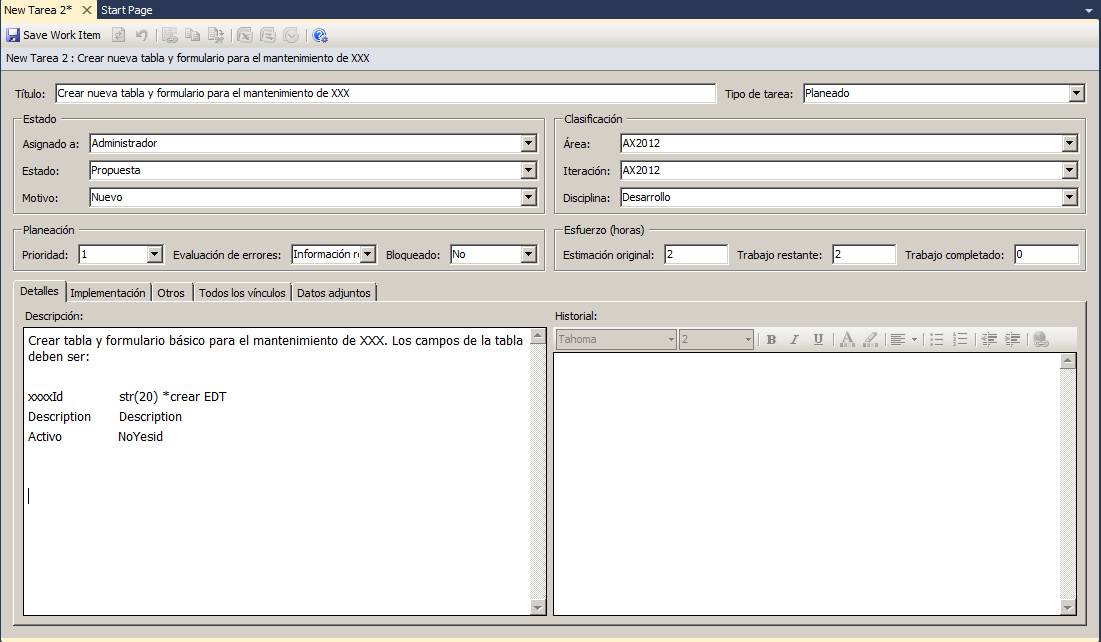
Let’s run a simple test by right-clicking Work Items > New Work Item > Task. In the new Work Item form, we fill in some sample data and click Save Work Item.
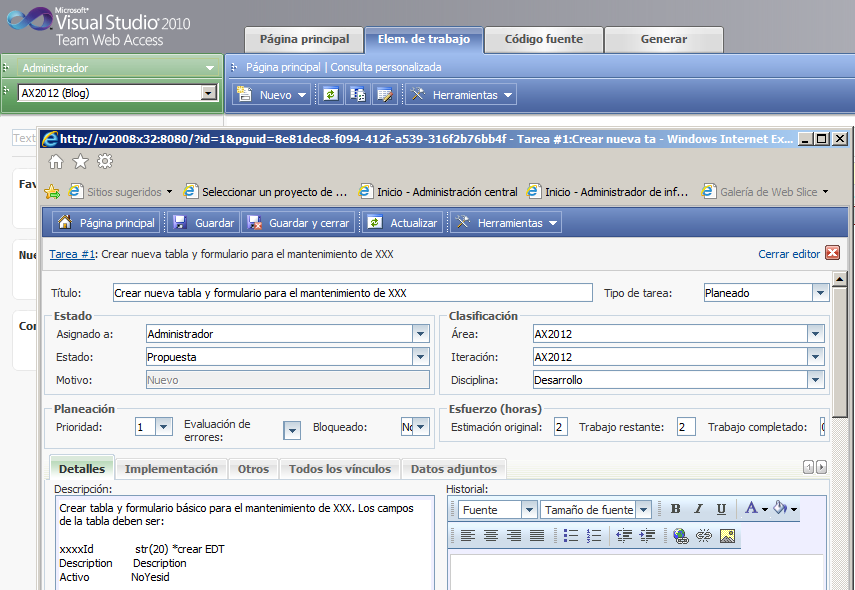
Next, in Team Explorer navigate to project > Work Items > Team Queries > My Work Items and verify that we now have one assigned task. In the same way, we can go to the project website through Team Web Access and verify we can access the Work Item we just created:
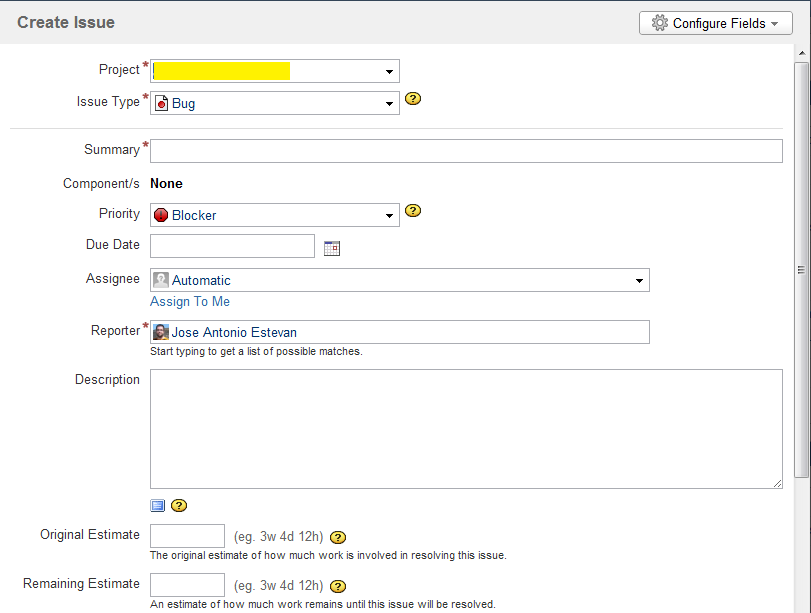
We can see the similarities with other similar systems, such as JIRA, for example:
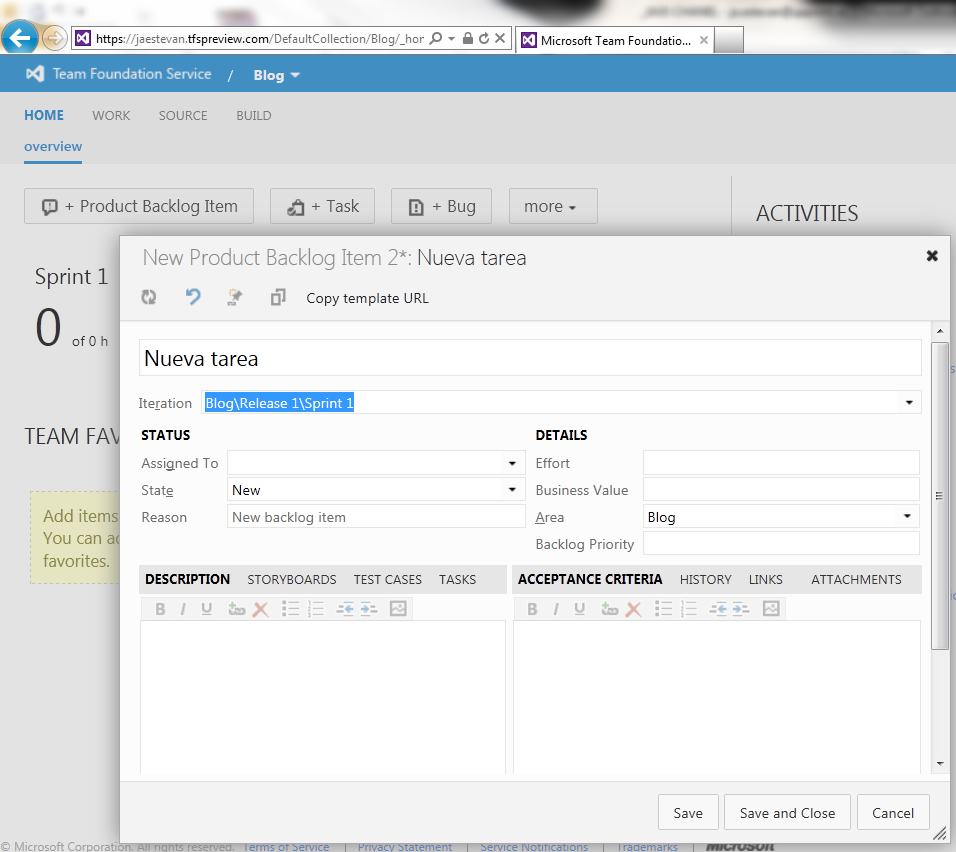
And also with the new cloud service for TFS called Team Foundation Service, which can be tested for free at tfspreview.com:
Weren’t we talking about methodologies here?
Exactly. Let’s remember from the first chapter in this series that tools support methodologies, they give them a physical implementation, but tools are not a methodology. Now, based on what we have seen so far and regardless of the methodology your team uses, it is easy to deduce that in any case you will end up with a list of actions to perform (to-do items, tasks, deliverables, …) with values such as estimates, schedule, etc. We can call it whatever we want; TFS calls them Work Items, JIRA calls them Issues. The name is not the important part; what matters is understanding that we can now manage actions (estimated, planned, …) with our tool.
In the first article I outlined the management areas that, at minimum, a methodology for software lifecycle management should control. Now we can see how to map that in our tool:
Project management and planning: If we use an external tool such as Microsoft Project, actions in that software can be synchronized bidirectionally with TFS Work Items.
Control of useful metrics for planning, control, and forecasting: Each TFS Work Item has values such as estimate, completed, remaining… TFS calls it Effort, but it can be adapted to each specific methodology.
Requirements management: Requirements should be tracked as Work Items that change state as they progress through all phases.
Feature management and tracking: Approved requirements (Work Items) move to this state, linked to their requirement and later to tests and potential incidents.
Source code management: Source code management is a native feature of TFS that we will cover later.
Version control: Version control is a native feature of TFS that we will also cover later, although in the Work Item itself we already see that each item can be linked to an iteration. In each methodology this has a different name, for example a SCRUM Sprint or a PRINCE2 Stage, or more generally a phase/deliverable… what matters is the concept, not what we call it.
Test management and automation: TFS includes both automated and manual testing capabilities. Microsoft Dynamics AX 2012 also has a unit test framework; we will see how to make them work together and complement each other.
Build and deployment management and automation: Automated deployment control is a native TFS feature that we will see later.
Environment and configuration management: In the specific case of Microsoft Dynamics AX 2012, we will look at possible solutions to manage environments and configurations (development, test, production, etc.).
Incident resolution flow management and tracking: Incident management can be adapted to any methodology using TFS directly in Visual Studio or through web access. We must define which users can create incidents and how incidents are assigned to the person responsible for resolving them, as well as how they are linked to features/requirements and tests.
And you, how do you do it?
We all know at least one project manager who uses an Excel file listing each requirement, each incident, each feature, … with columns indicating status or progress. That works great if the Excel is only relevant for the person maintaining it, but usually the file is circulated through endless email threads where everyone updates their part, to the point where it becomes difficult to know which version is the latest, if any really is…
There are better ways to support this information, such as publishing the Excel in a Sharepoint portal or, even better, maintaining the list as a Sharepoint list. But in any case that list is totally isolated from what is actually being done, and dependent on the person maintaining it doing so quickly and rigorously.
Wouldn’t it be better to keep information where it is generated? The good thing about a tool like TFS is that it is present at each point where information is generated: a consultant can use Team Web Access to create and estimate tasks; a project manager can integrate it with Microsoft Project or plan Work Items directly in Team Web Access; a developer has TFS integrated in Visual Studio or directly in Microsoft Dynamics AX and will manage tasks directly, even linking modified/created source code to those tasks; a tester uses Visual Studio or Microsoft Test Manager web to execute tests; automated deployments register actions automatically; end users/customers report incidents through restricted Team Web Access access; …
In short: one tool, one data source, one truth.
What else?
In these first chapters we saw the need for a complete lifecycle management methodology. We saw how to install and configure TFS to manage Work Items. In upcoming chapters I will go deeper into more technical tasks directly related to development in Microsoft Dynamics AX 2012, such as source code control, version control, testing, and deployment.
References
Posts in this series
- Automatic BUILD Processes with TFS and AX 2012 (2/2) (ALM-X)
- Automatic BUILD Processes with TFS and AX 2012 (1/2) (ALM-IX)
- Version Control in Microsoft Dynamics AX 2012 Using Team Foundation Server Branches (ALM-VII)
- Source Code Control with TFS in Microsoft Dynamics AX 2012 (ALM-VI)
- Microsoft Dynamics AX 2012 ALM with Team Foundation Server (ALM-III)
- Team Foundation Server 2010 Installation (ALM-II)
- Microsoft Dynamics AX 2012 Application Lifecycle Management (ALM-I)