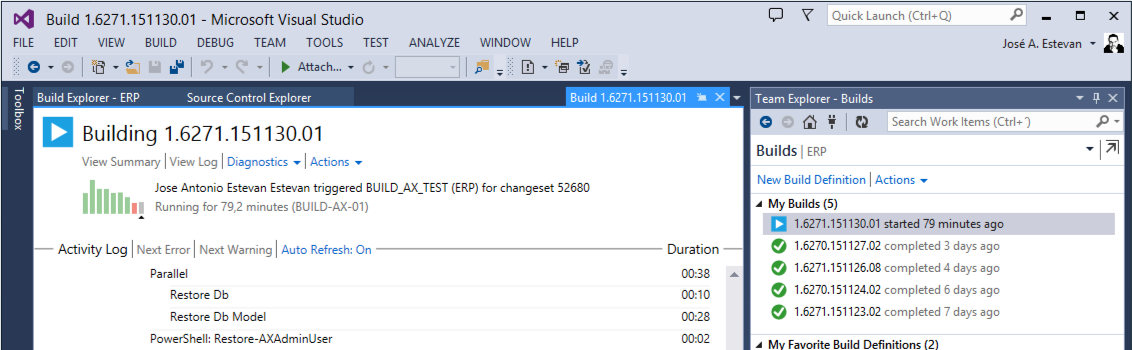
Download Microsoft Dynamics AX 2012 Application from Team Foundation Server (ALM-IV)
It has been a long time since the last entry in this series, but here we are again. Let us walk through a real scenario: we start working with a customer and when we ask for the information required to connect to their application, they only give us a username, a password, and a URL for a Team Foundation Server project. That does not have to be complicated, right? It really is not, even when that URL points to a cloud-hosted TFS instance (now Visual Studio Online, which for a while was called Team Foundation Service).
The first step is preparing the local repository where files downloaded from TFS will be stored. For this we simply create a folder on disk. I usually use C:\TFS_Repo and inside that folder I create a structure like \Project\<Branch>\Application\Model. In this example I am not going to use branches, so I create the folder C:\TFS_Repo\AX2012\Main (where Main is my chosen application name in this case). This structure can vary depending on your needs and preferences, but I like it because inside TFS_Repo I can store other TFS projects unrelated to AX 2012 and keep everything organized.
Next, in the development environment of our AX 2012 application (freshly installed, with no changes), go to Version Control > Version Control Parameters, or press Ctrl+Shift+V:
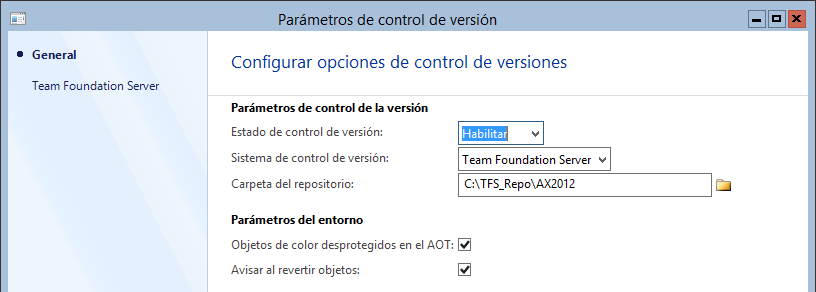
In this form we configure the local repository path we just created and select Team Foundation Server as the VCS we are going to use. That makes the Team Foundation Server tab appear on the left. For now we leave version control status as Disabled and switch to that new tab:
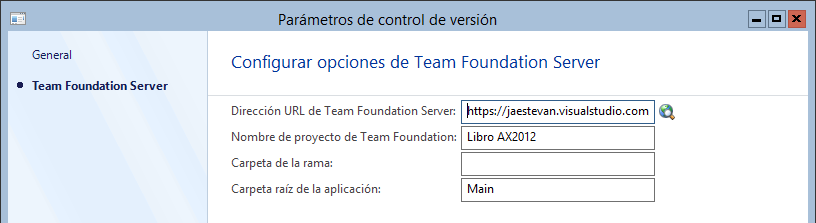
In this tab we configure the project URL, which in my case is a visualstudio.com URL (https://jaestevan.visualstudio.com/DefaultCollection), set the project name, the branch (optional, it can be left blank), and the repository folder where the project will be stored, which depends on the folder structure created in the previous step. Once these values are configured we can go back to the General tab and change status to Enable. This makes the system connect to the specified URL to configure the integration. At that point we are shown the Team Foundation Server login page:
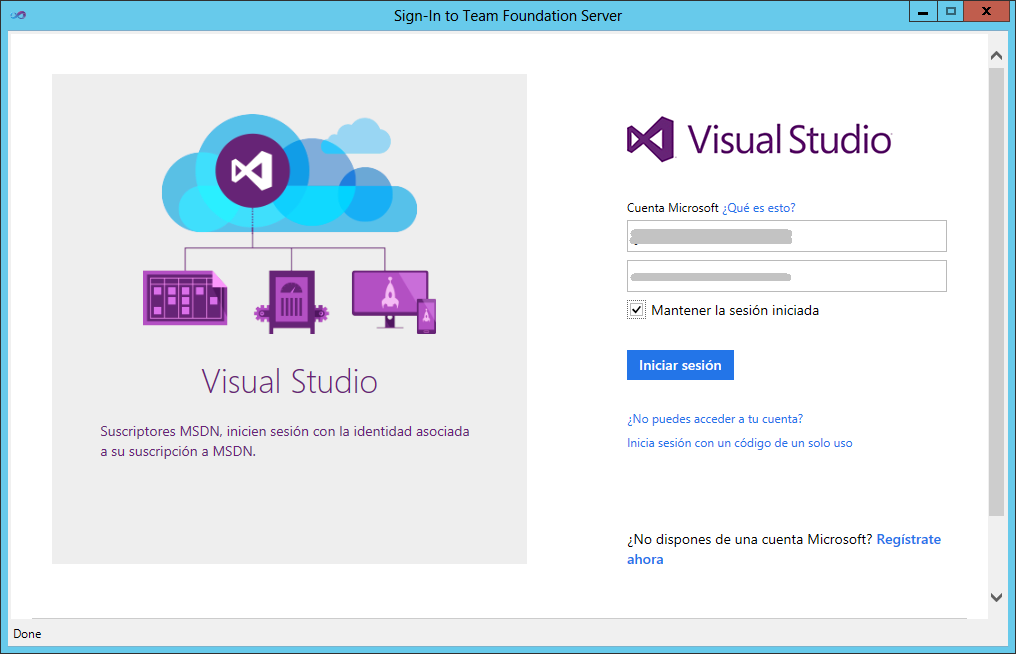
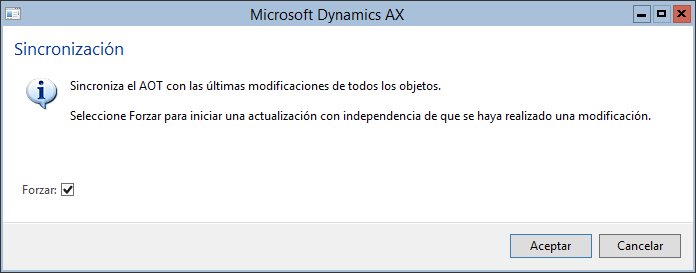
After entering a valid login, configuration is complete and we can start working with TFS. In the repository folder we can already see a few downloaded files, and if we inspect installed models in AX 2012, the models used to protect objects in TFS have been created automatically inside the application and can already be used to add new objects. Several options are also enabled in the Version control menu of the development environment, including Synchronize, which we will use now to download all objects from source control. We check Force, which tells the process to download all objects from the VCS regardless of whether AX thinks they have changed or not.
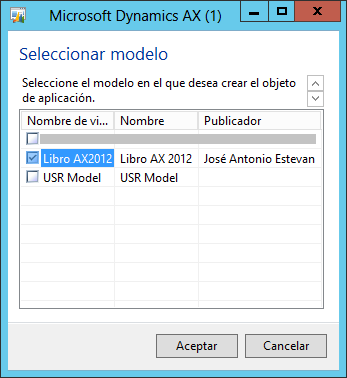
The process asks in which model downloaded objects should be placed. When we connected to TFS, the model was already created automatically, so we can just select it directly:
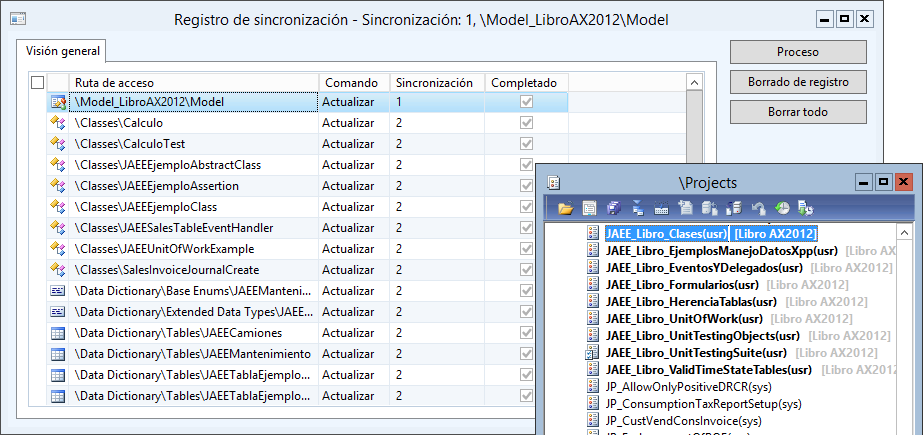
This process can take a while, depending on how many objects are protected in Team Foundation Server. When it finishes, we will see all downloaded files in the local repository. We can also inspect the synchronization log under Version control > Synchronization log:
And that is it. Everything is ready to start working. Our development machine, which was freshly installed, now contains all objects that were already stored in the customer source repository, including models, label files, and more. Easy, right? :)
Posts in this series
- Automatic BUILD Processes with TFS and AX 2012 (2/2) (ALM-X)
- Automatic BUILD Processes with TFS and AX 2012 (1/2) (ALM-IX)
- Microsoft Dynamics AX 2012 Label Codes Using Team Foundation Server Branches (ALM-VIII)
- Version Control in Microsoft Dynamics AX 2012 Using Team Foundation Server Branches (ALM-VII)
- Source Code Control with TFS in Microsoft Dynamics AX 2012 (ALM-VI)
- Read Team Foundation Server Items from Microsoft Dynamics AX 2012 (ALM-V)
- Download Microsoft Dynamics AX 2012 Application from Team Foundation Server (ALM-IV)
- Microsoft Dynamics AX 2012 ALM with Team Foundation Server (ALM-III)
- Team Foundation Server 2010 Installation (ALM-II)
- Microsoft Dynamics AX 2012 Application Lifecycle Management (ALM-I)